The Full Process – Our 10 step guide to screen printing
With over 35 years’ experience, we thought it would be nice to share with you the process of how your imaginative designs end up on your chosen product with fabulous results.


Step 1
Firstly you will send us your design or commission our artists to create a bespoke design for you. You will be emailed a visual proof of your design to sign off with the art department. This way we know you are happy with everything before we proceed to the printing stage. Once the design is given the go ahead, it is printed at actual size in black onto clear acetate film called kodatrace.
Step 2
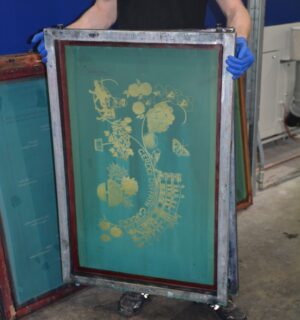
Our silk screens are coated with a special emulsion which will stop any ink from seeping through the screen when printing, where it is not wanted. A separate screen is needed for each colour in the design.
Step 3
The kodatrace with the final design on is placed onto a large exposure unit (like a big lightbox). The coated screen is placed on top of the design and exposed to the light for a specific amount of time.
Step 4
The screen is rinsed with water. The emulsion will be carefully washed away leaving clear mesh to show the imprint of the design. The screen will be dried, then touched up with the emulsion if needs be and re-exposed to toughen the additional emulsion.
Step 5
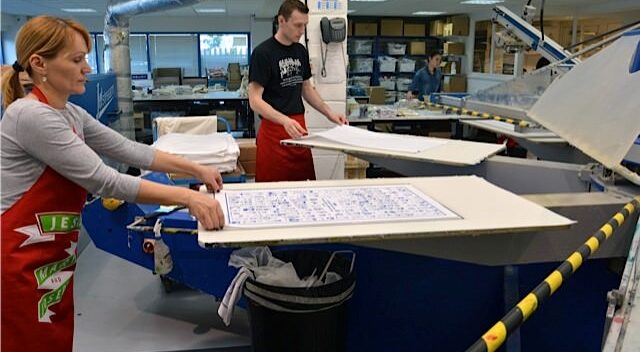
Although we used to screen print by hand, times have changed and due to the volume, time constraints and advancing technology, we now print using a carousel. It’s an ingenious piece of machinery that can print up to eight separate colours or detailed full colour designs. The screen is set up in the carousel and the water based ink (whatever colour you request) is placed at one end of the screen.
Step 6
When the carousel is in motion, the item you are having printed (be it a tea towel, apron, bag or t-shirt) is laid down flat onto a printing board. The eight arms of the carousel with the printing boards on them rotate.
Step 7
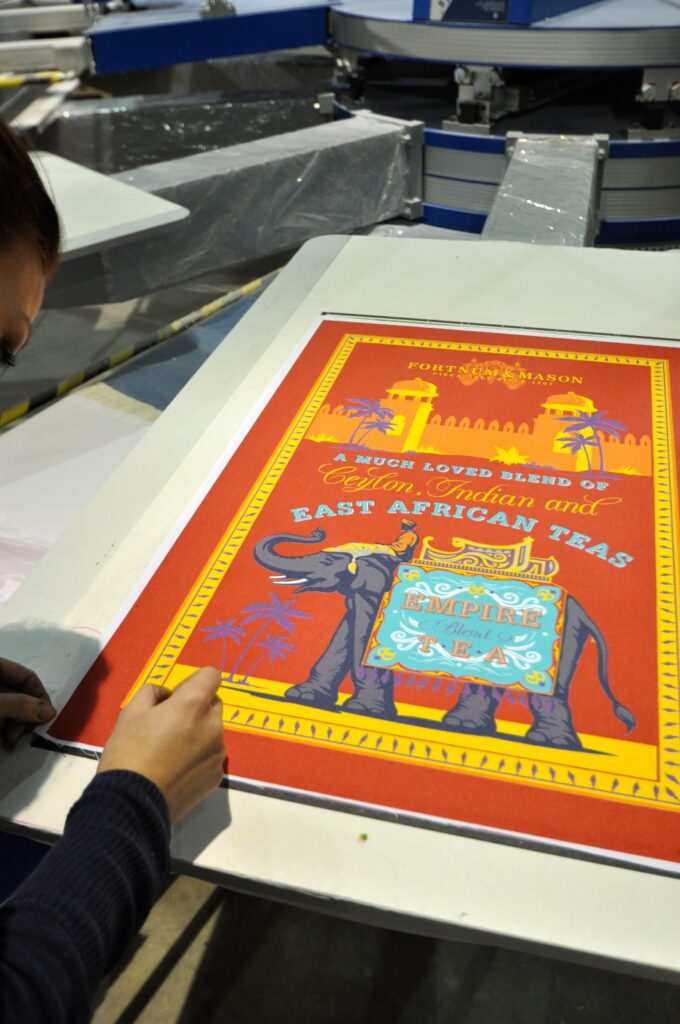
When the first board with the product on reaches the screen, the screen is lowered and a large squeegee pulls the ink along the length of the screen. The ink is pushed through the clear areas of the screen, leaving the design imprinted on the product.


Step 8
The printed item is run through a large dryer at a specific temperature. This bakes the print onto the item which results in a colour fast product.
Step 9
Your order is checked for print quality and prepared for dispatch.
Step 10
Finally the screen is washed thoroughly. It is striped and recoated with emulsion, in preparation to be re-made with a totally new design.
There you have it, our 10 steps to screen printing. If the art of screen printing is a mystery to you, I hope this has given you a brief insight to how the process works.


pls I want to see it in a video how to screen print in different colours and I also want a picture analysing it for me very well.